
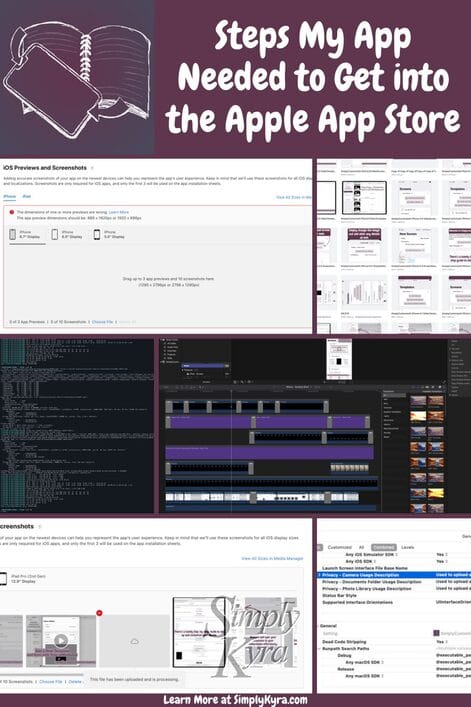
Steps My App Needed To Get into the Apple App Store

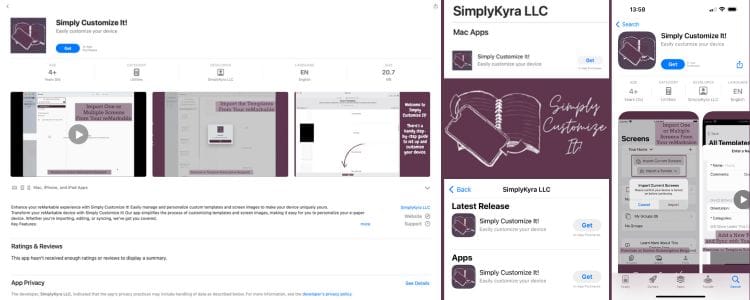
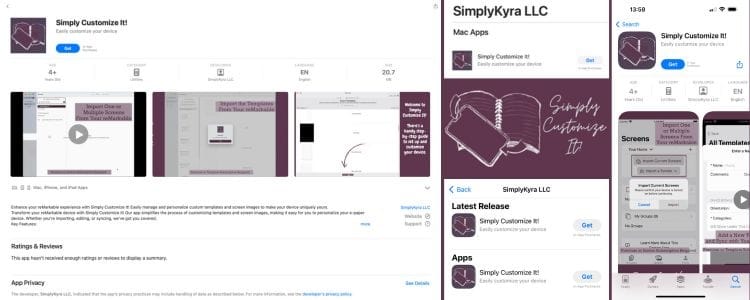
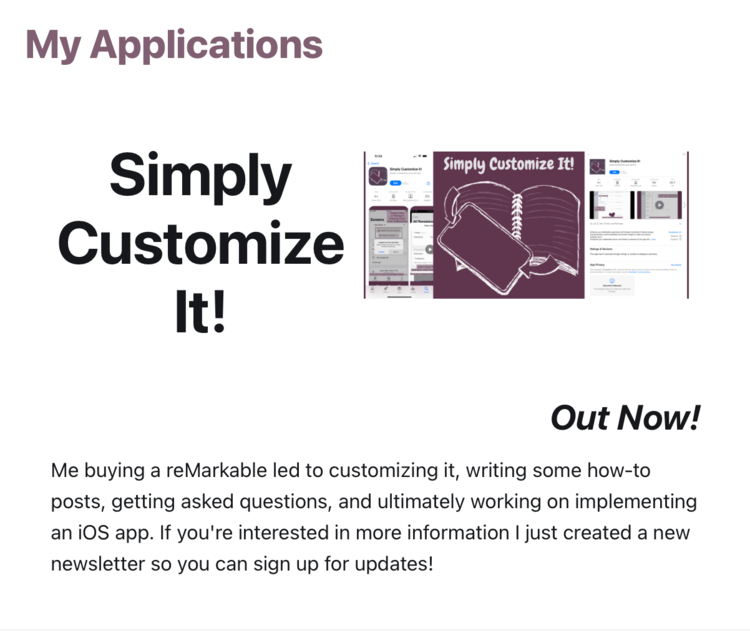
I knew going into the App Review process that the whole thing could take awhile but there were several aspects of it that were especially frustrating. As such I wanted to write a post both as a reminder to myself for the next time I go through it and in case it can help you in your own journey. That said, if you've been through the process before with your own tips and tricks I'd love to hear about them so feel free to comment at the bottom of this post and I'm sure they'd help others too. And if you're interested in the app itself here's a link to the App Store and more information about it here.
While writing this I realized most of my issues were associated with app previews as I didn’t fully understand what was needed. As such I'll start with the Previews and Screenshots section of the App Store Connect website, by sharing screenshots and then the previews, before going on to share other areas of the process that I did wrong and had to fix before my app was check marked with Ready for Distribution. If you want to skip ahead feel free to jump down to the tldr summary.
Screenshots (Photo)
At first the screenshot section seemed simple as each area tells you which possible sizes of screenshots they accept.
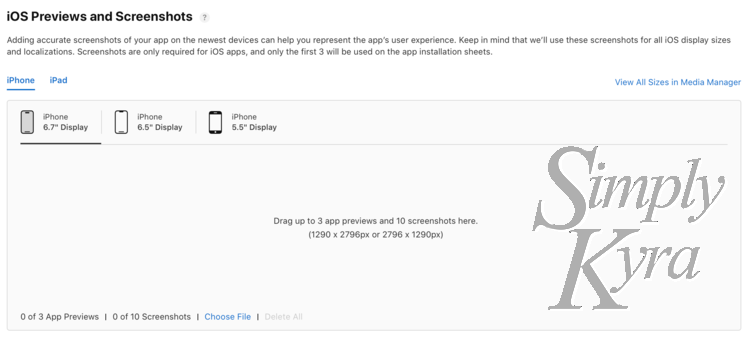
Additionally the extra text at the top, overlay at the question mark, made it seem especially straightforward and expected with:
Screenshots must be in the JPG or PNG format, and in the RGB color space. App previews must be in the M4V, MP4, or MOV format and can’t exceed 500 MB.
Process
To create both my screenshots and app previews I used the simulator in Xcode 15.4 to run one version of each device including the: iPhone, iPad, and macOS. After starting the screenshots I realized I should take a step back and instead first formulated what screenshot story I wanted to tell. As Apple allows a max of ten screenshots I decided to leave a buffer in case I later added more, without needing to delete any original ones, and chose seven ideas with captions. With these seven ideas in mind I went back into each simulator instance mindfully taking the required images.
cmd 4 screenshot shortcut. With the screenshots done, for now, I next went into Canva, checked the dimensions for each display version carefully, and made seven new designs for each one. I decided to use Canva as I already had experience using them for my Pinterest and Instagram blog post images plus it was the best way I had to confirm each image was the perfect dimensional size and to add text overlay. Once they were done being designed I downloaded them to my computer before immediately uploading them to the App Connect page under each matching version. Later, once uploaded, I dragged each image to rearrange them into the proper display order.
Issue
The screenshots weren't too troublesome but I did get annoyed at one part as after I designed 14 images, basically the first two phone sizes, I went to upload them and realized after the first set, when I switched to the next phone version, that I could reuse the images. I was disappointed a bit as they were already designed but excited because this meant I could skip the third iPhone version and one of the iPad ones... then realized I couldn't. It's so minor and all the other versions were still hidden away but overall the crash, peak, and crash of hope was a bit disappointing.
Lesson Learned
So lesson learned was to make one version for each device type at a time, upload them, and then check if you need the alternatives before actually going on to create more.
App Previews (Video)
I saved creating the app previews until after the screenshots were made though I did take the actual screen recordings both before and after. This video creation had so many minor annoying parts but most happened with the checks when uploading the videos which, although annoying, saved time from the back and forth app rejections. I'm glad the process was streamlined there.
Process
This is the idealized process I'm planning on repeating the next time I put an app into the store based on my original steps and what I learned while uploading the videos. After I'll share the specific issues that helped create this process.
Like the screenshots above I chose one iPhone version, one iPad version, and the macOS default. Then for each device type I reused the videos since there wasn't much difference within the versions of each device type.
- Screen Recording
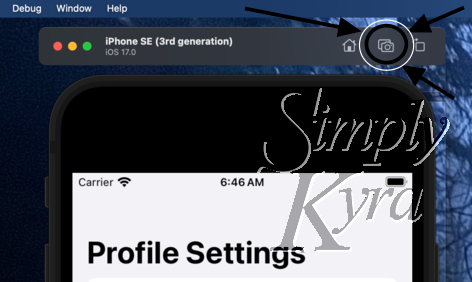
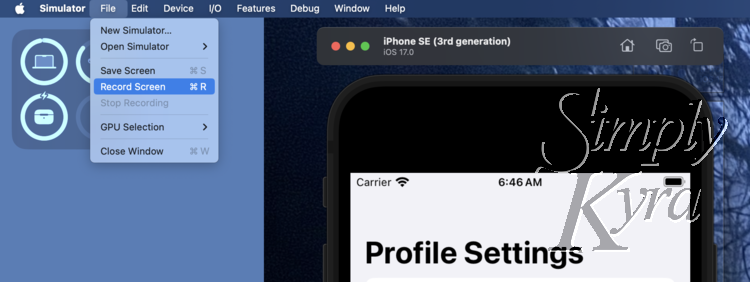
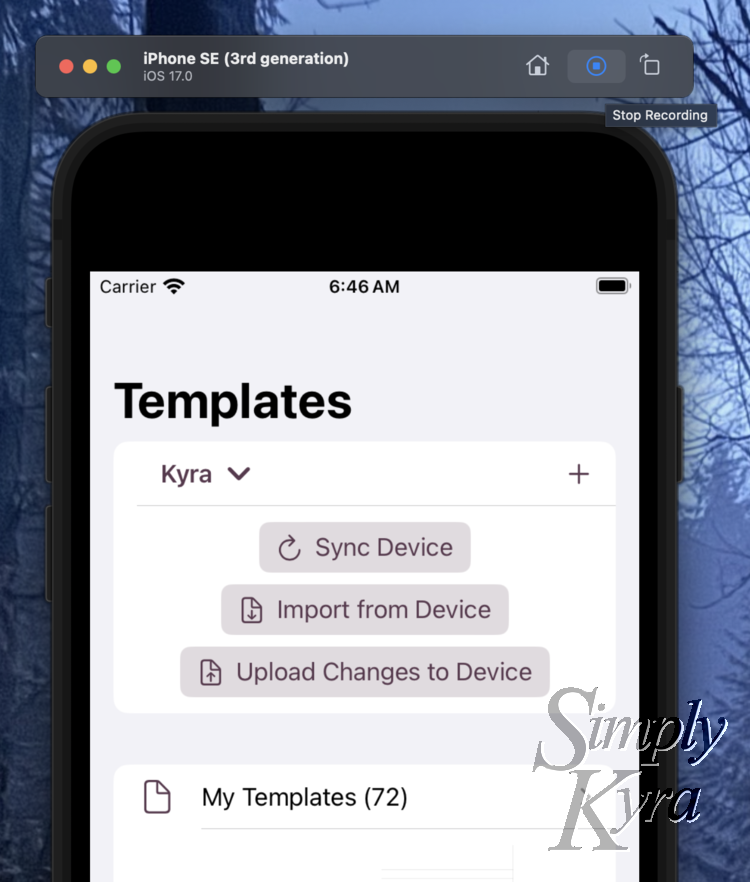
Like my screenshots I continued to use my simulator, running from Xcode 15.4, to create my screen recordings. I can never find the right button so I used the Help menu to search for record. That said, the record button is under File and you can activate it with cmd r. To stop the recording you can use the screen capture, originally the screenshot, button that shows the text Stop Recording when the screen recording is running.
For the macOS version I instead opened up the default ScreenShot app and selected record from the floating options. For more information check out this how to from Digital Citizen.
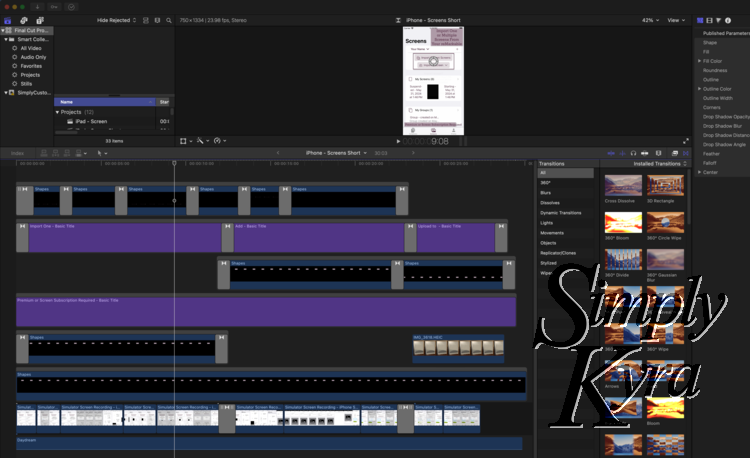
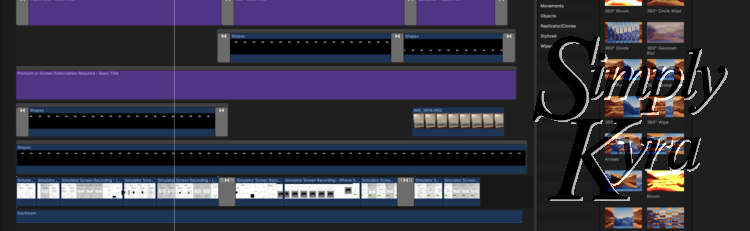
- Final Cut Pro - 10.7.1
Years ago when I started creating videos for my website we bought Final Cut Pro for the Mac, a one time purchase versus the subscription on the iPad, and I now know just enough to make it my default use case for text overlays and transitions in videos. As such I created a new project and dragged the above screen captures in to create a video using captions, transitions, speed increases, and the like. After attempting to submit the exported videos I added an audio track (set volume to negative infinity to be non-existent) and edited the videos to be under 30 seconds long.
- Canva
I've been using Canva over the years to create my Instagram and Pinterest geared collages and I knew I could use the canvas size to be sure the videos were the correct dimensions. Thus, after confirming the proper dimensions, I went into Canva, created a new design set to the specified dimensions, and uploaded the video. I found some of my videos had blank spaces at the end and I could trim them here to hide it as well as resizing the video itself to crop the iPad frame out. With the video fit to the canvas limits or slightly within I next added and fixed the additional elements like text overlay or background colors. Once I was happy with how it looked I exported the video and started work on the next one.
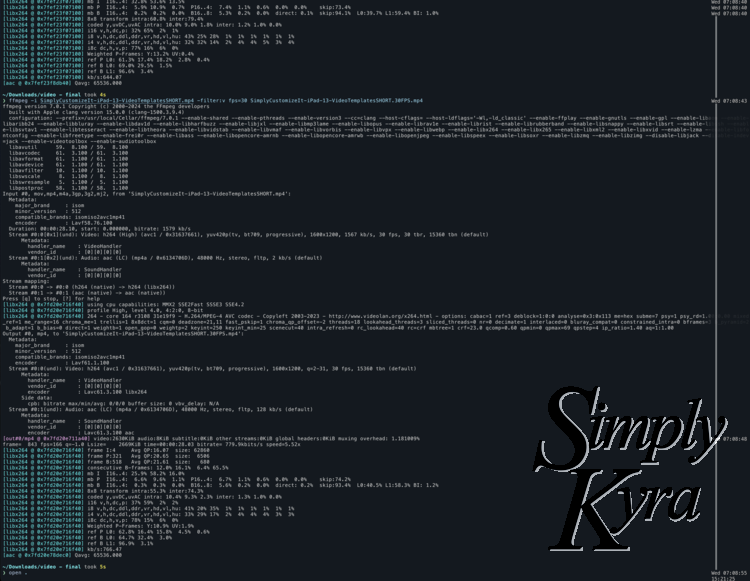
- FFmpeg
Originally I thought I was done once I exported the video from Canva but later I realized my frame rate was too high for Apple. Earlier in the process Matt had shared FFmpeg with me just in case I needed it so I looked online and found I could use it to change the frame rate of a video. Once downloaded and installed I was able to fix my videos with a simple command: ffmpeg -i OldVideoName.mp4 -filter:v fps=30 NewVideoName.mp4
Notes so I could simply copy and paste each one in quickly. You may be able to batch it but I didn't take the time to research that part of it.- App Store Connect
With the videos ready all that was left to do was submit them to the App Store Connect. To do it you just drag the video to the right section and, after a blink or two, it hopefully shows up as uploaded. If there was an issue the video doesn't show in the window, the whole area is outlined in red, and the specific error is shown above. Once uploaded a cloud image is shown while the video processes and, once ready, it's updated to the video thumbnail. The videos have to be fully processed before you can submit your app to the app review team so the last time I was waiting on edge for them to be done so I could hit the button to submit.

Issues
I wanted to share any specific issues I came across in this App Preview process in case they can help you. That said I didn't take screenshots as they happened and I can't find the detailed submission area anymore so I may be missing one and/or I won't have the specific wording. All screenshots were recreated after the fact.
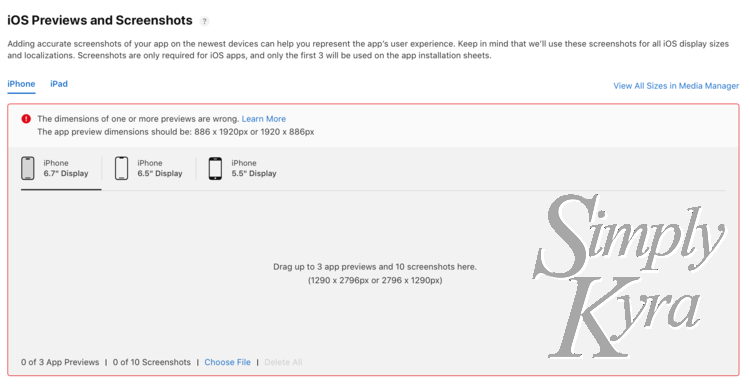
Dimensions
When I started I carefully looked over the dimensions listed for each device and created nine designs in Canva for both the screenshots and videos. When I went to upload the videos I got an error message that showed different dimensions than listed for, I'm now assuming, just the screenshots. As such, going forward for each device type, I attempted to upload the wrong video before making the app preview one so I'd know, based on the resulting error message, what size it requires for the video.
Audio
My videos didn't include audio as I figured it wasn't needed and I could always add it in the future once I was sure I wasn't going to change the video content again. Thus I was confused when I got an audio warning when uploading my video. After looking online, including looking over this 2022 Apple forum thread, I realized the lack of audio may in fact be my problem. I went back into Final Cut Pro and debated adding background music but I didn't want potentially annoying music with no added benefit so I instead chose a random track and turned down the volume to negative infinity so it's like the music wasn't actually there. Exporting this updated video, going through my processing steps, and uploading to App Connect fixed this error while adding essentially no audio.
Duration
This one threw me for a loop as I thought it was referencing the video size but after looking online I realized it was the video duration. My videos were one to two minutes long but I found on a forum that I needed to keep it under 30 seconds. Once I shortened my videos to twenty something seconds long this error went away.
Frame Rate
Again this error itself wasn't too helpful but after looking online I saw the video needed to be no faster than 30 fps (frames per second). I ended up installing and running FFmpeg to convert my videos and go onto the next step.
Device Framed
This error was picked up in app review. Since my screen recordings were done on the simulator my iPad videos were framed in the black faux device which the app review team didn't want. I worried I'd have to redo my entire video but luckily I was able to simply resize the video in Canva essentially cropping the frame off. That said, when I was still worried about this I asked in the Hacking with Swift slack group and one person replied with RocketSim. I haven't tried it but figured I'd share in case it can help you.
Lesson Learned
So there were a lot of lessons learned here but to sum it up for next time I'm going to include a quiet audio track in the Final Cut Pro video, make sure to keep the final video under 30 seconds, confirm the app preview dimension before starting Canva, make sure I crop off any device frames when resizing the video, and run it through FFmpeg to slow down the frames per second.
Information Wasn't Loaded
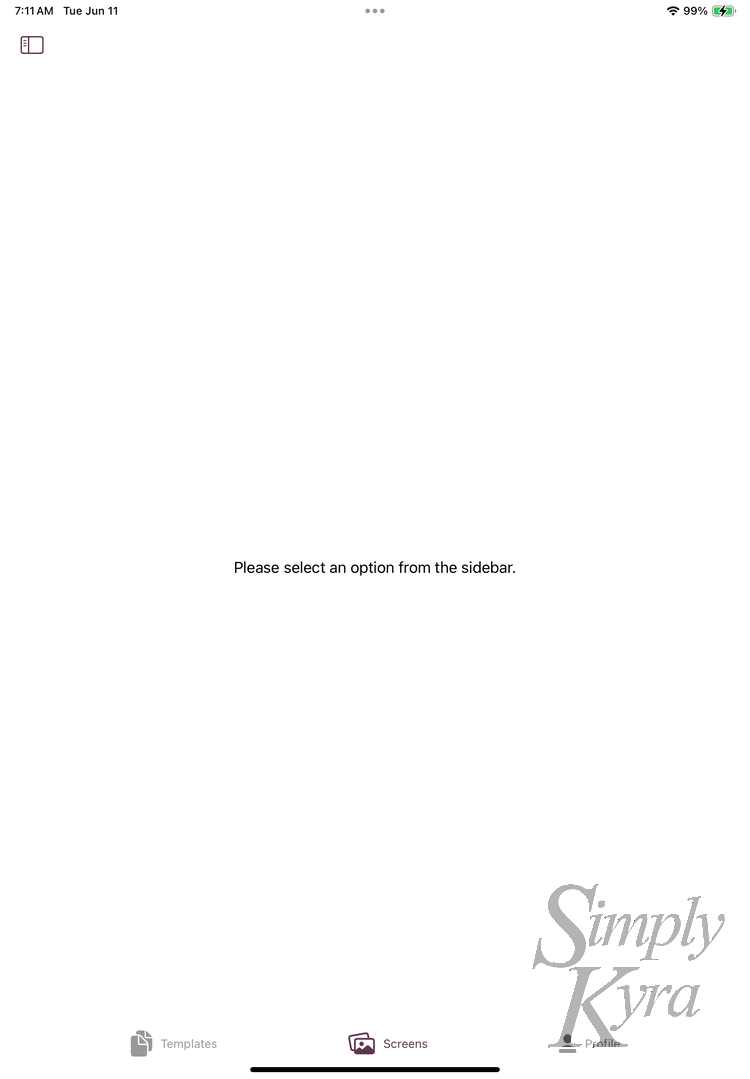
Several rejections in I was sent the following screenshot with the reasoning that information wasn't loaded. I was surprised at this as the detail pane on my NavigationSplitView was showing and telling the person to pick an option from the side. I replied to them but, as this was during WWDC 2024, I already had a consultation booked with the App Review Team later that day. Before they replied I had the WebEx meeting and was told that it wasn't an issue.
Subscriptions
For this app I didn't have any one-time app purchases but did offer a set of six subscriptions all tied into a single subscription group. There were two issues with this:
Can't See In App Subscriptions
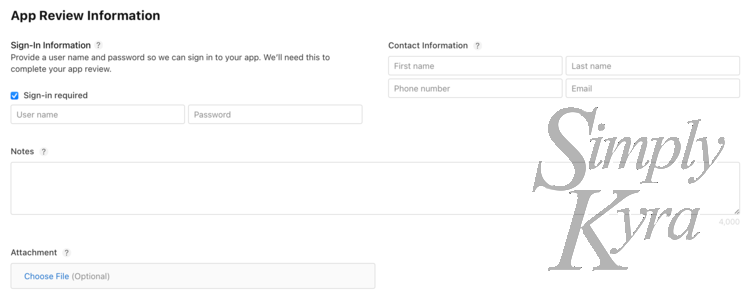
My first error returned from the app review team was that they couldn't see the in-app subscriptions. I explained that I offered them through the SubscriptionStoreView call and where to find each instance through the user interface. Later during the above mentioned app review consultation I found out, currently, they can't see the subscriptions on their end so next time I want to include information within the App Review Information section to get ahead of having this rejection again.
Subscription Description
In the WebEx meeting with the App Team I was told that the button shown in the subscription view was misleading with the "Try It Free" caption.
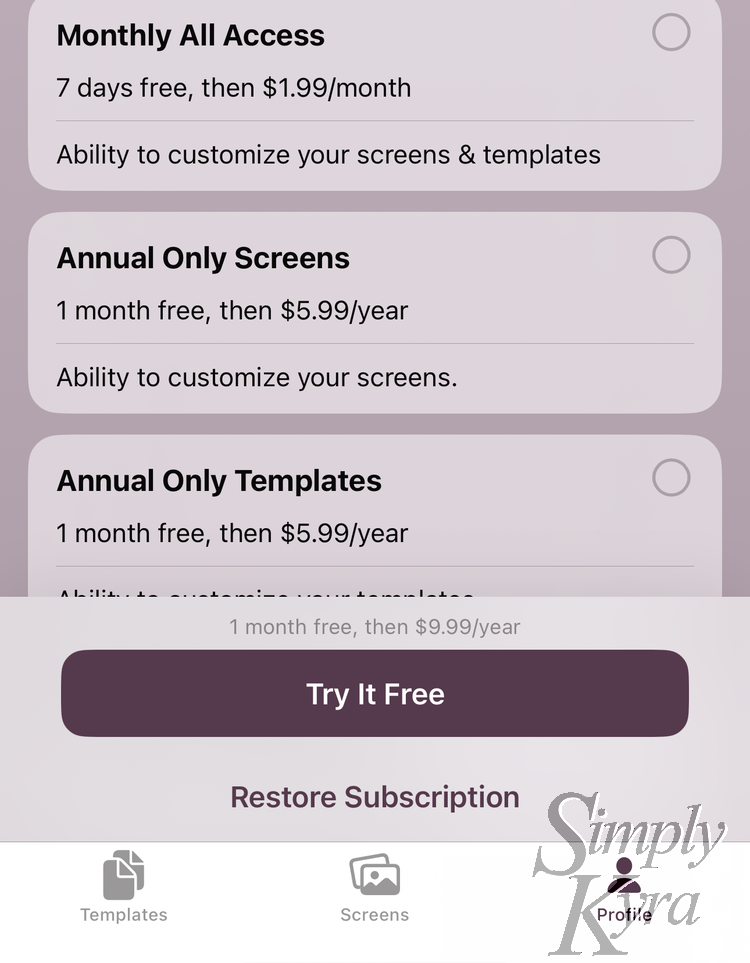
I explained that I showed this view through the SubscriptionStoreView so I wasn't quite sure how to change the button and figured this way if Apple updated something this view would also change to fit the new content. They decided then since the person using my app had to select an option before hitting the trial button it was fine. Wanted to share though as I could see this area being problematic if you were creating your own version.
App Review Information
Although the macOS version sailed through the review back when I uploaded both versions to TestFlight it went the opposite way. Then iOS was quickly approved but the macOS version was declined as they didn’t have the login credentials. My app itself doesn't need login credentials but it does need access to a third party e-paper device called a reMarkable. I explained this in the reply along with including a docker file to emulate a reMarkable that they could connect to. The Mac version was approved for TestFlight right after. Because of this I made sure to enter this information for both the iOS and macOS version under the App Review Information section of the App Store review. Not sure, looking back, if this was helpful but the macOS was quickly approved and no-one mentioned login credentials on the iOS side.
Purpose String
During the Webex meeting with the App Review team I was told my app's purpose strings didn't meet the requirements. In my app I was setting the reason I needed to gain access to the camera, document folder, and/or photo library to my purpose of uploading the chosen image to my app rather than the ultimate reason of having the image on the user's reMarkable. As such he gave me an example I could use and after the meeting I updated the string in all three of the spots before re-uploading my app back to App Connect.
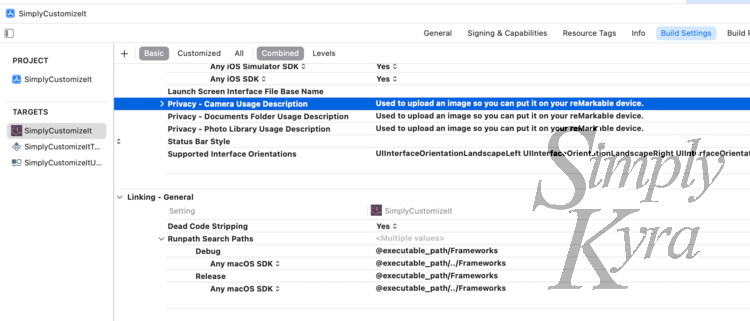
"Used when you choose to upload an image from your camera/documents/photo library." to "Used to upload an image so you can put it on your reMarkable device."Ready For Distribution!
And then, right when I was waiting to see what else needed to be fixed the iOS version was marked with Ready for Distribution! The macOS one had been approved days before but I had set it to manual release so I went into there, marked it for release, and then waited for both to appear in the App Store... with baited breath. I then searched online again and worried there might be an issue on the financial side. Checked the store repeatedly throughout the day and saw it right when I was at the door to get my kids from school! So the last ready to in store took about one school day.
And with its appearance I updated my website to show the change before sharing on social media.
With that my first app was in the App Store and I realized soon after I should jot down what I learned for the next time I go through this process and share the tips in case they can help you too. If you've been through this process before I'd love for you to share your tips either in the comments below or feel free to email them at mail@simplykyra.com.
TLDR: Tip Summary
- Purpose Strings: Make sure the purpose strings in your app are about the end game or essentially why they want the app to have access rather than why you want it.
- App Review Information: Make sure to include any information that they'd need to analyze your app. I included what blocked me in TestFlight but learned to also include where to find my subscription as that information isn't currently linked on their end.
- In App Purchases: Make sure they aren't nefarious and there's no trickery involved. No big Free Signs when there's really a paid requirement to sign up for and you're really referring to the simple trial.
- Screenshots and App Previews: Take them a bit at a time, confirm their dimensions repeatedly, and make sure the videos include an audio track, are under 30 seconds, set to 30 fps, and don't include a device frame.
- Best tip: I didn't use it but in the consulting Webex call I was told when you get rejected you can ask for a call. Definitely keeping that in mind for next time.
While researching this post I came across a reference to app preview specifications that would've been so helpful to have this first time around so I included it here for you. And I truly hope you’re having a good day. Feel free to share any tips you've learned below!
If you’re interested in getting any of my future blog updates I normally share them to my Facebook page and Instagram account. You’re also more than welcome to join my email list located right under the search bar or underneath this post.