
Colorful and Simple LEGO® Themed Cupcakes
For Zoey’s birthday party last year and Ada’s two years ago we hacked the Ghirardelli brownie mix from Costco to make brownie cakes with M&Ms, coconut, and extra chocolate chips (link to the cupcake versions we made for Halloween). Last year Ada came up with adding pineapple to make a pineapple brownie cake for her birthday party. This year I was wondering if we needed a change and when Zoey decided she wanted an Orange DUPLO® and LEGO® theme for her birthday party I decided we needed to come up with a way to make the cake orange. I remembered loving angel food cake as a kid and after looking online to confirm I can indeed dye it I went to the store to grab a couple boxes of angel food cake mix so we could test it out.
Testing If The Cake Dyes Easily
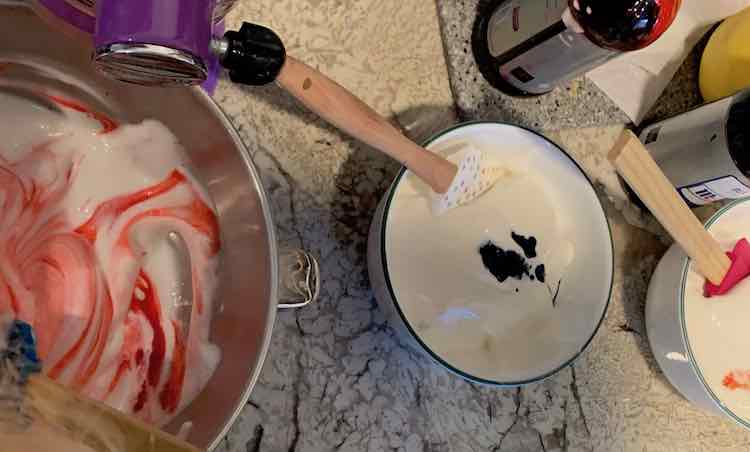
Since the first test was just for us Zoey and I had some one-on-one time baking while Matt and Ada played with Snap Circuits. We started out by following the directions on the box by combining the powdered cake mix with a cup and a quarter of water before turning on the stand mixer. Since I knew Zoey’s cupcakes were going to be orange I decided to change this batch up. I knew Zoey would prefer orange and Ada loves red but I wanted to go wild so I decided to use all three primary colors: red, yellow, and blue. I grabbed two bowls and moved roughly a third of the mix into each of them so I ended up with three separate bowls of uncooked white angel food mix. I then dropped about ten drops of water-based McCormick food dye into each bowl before letting Zoey mix it up. I love how the colors ended up marbling with the white since we didn’t overmix it. If you want a solid color, instead of marbled, it would be easier to add the dye to the water at the beginning before combining it with the powdered cake mix.
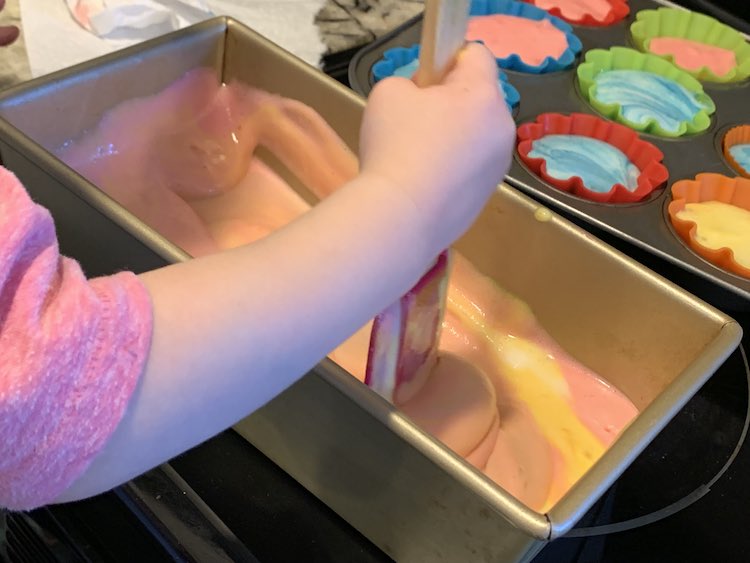
Before we started, when I was gathering the supplies, Zoey filled in the cupcake pan with silicone cupcake liners so when she decided she was finished mixing the red I switched her to mixing another color, mixed the red a bit more, and poured it into the cupcake liners. I wasn’t sure if the colors would mix together while baking to make a more solid color, rather than stay marbled, so I filled some liners with only red and, to test it out, filled some partway so we can could add another color to see if a secondary color is created or if the colors stay distinct. I didn’t want the cupcake liners to overfill while baking so I soon realized I had too much angel food cake and grabbed my loaf pan. I saved the last bit of each color once and was able to pour all the remains into the loaf pan. I made sure to pour blue first so red and yellow closer to the top. Zoey wanted to mix the loaf pan before it went in the oven so a bit of the pan turned orange.
I then popped the muffin tins and loaf pan into the preheated oven and baked them. The back of the box didn’t have instructions specifically for a cupcake pan so I took the directions for loaf pans, which gave a duration of time of 28 to 38 minutes, and baked them for 28 minutes. They were done when I took them out to check.
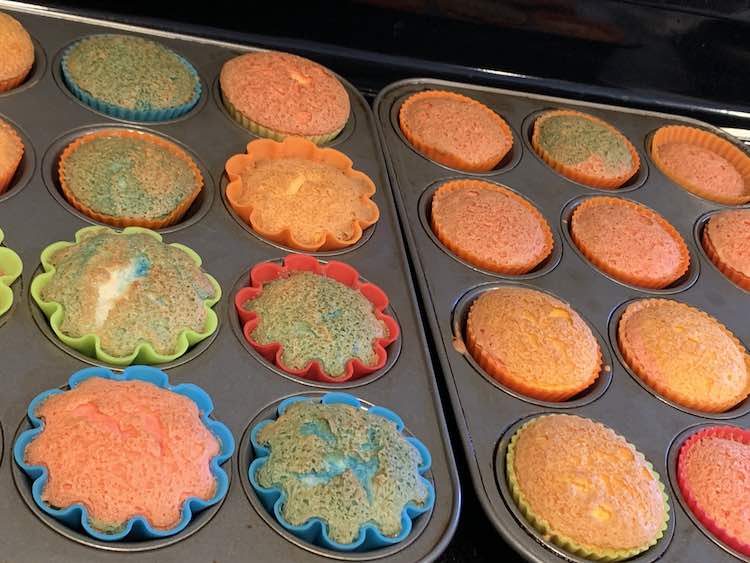
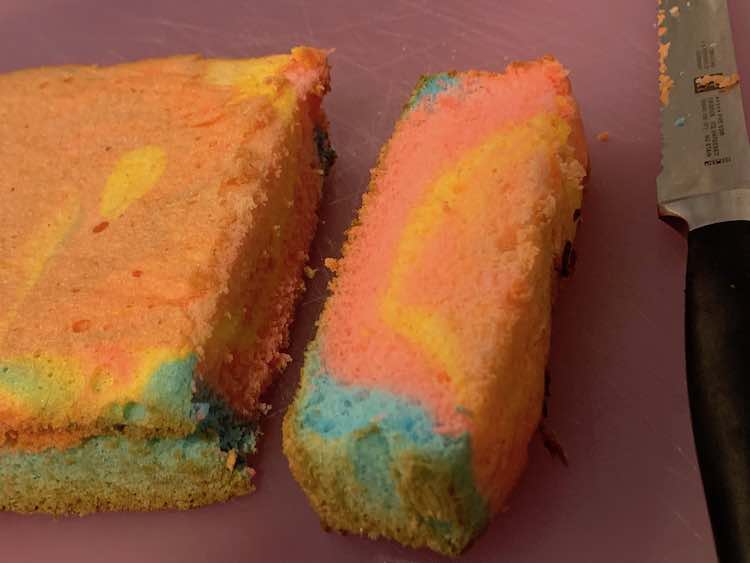
I turned the loaf pan on it’s side to cool and moved the cupcakes to a cooling rack. Once they were cooled enough I popped the cake out of the loaf pan and cut into it. It was gorgeous! All the marbling stayed frozen in place. I could see this being amazing for a rainbow birthday cake.
Birthday Party Cupcakes
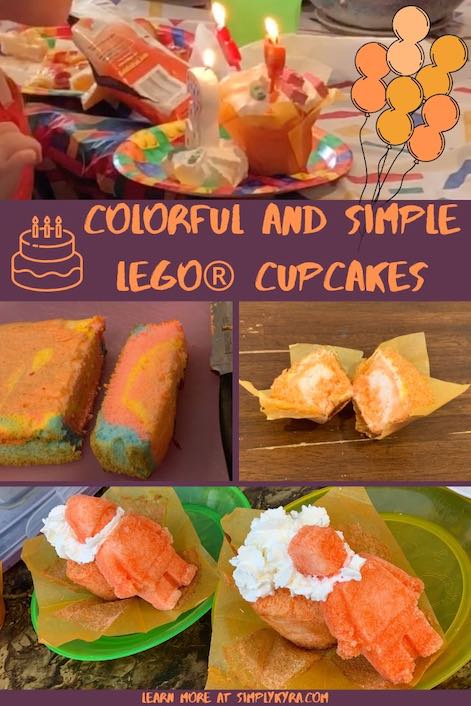
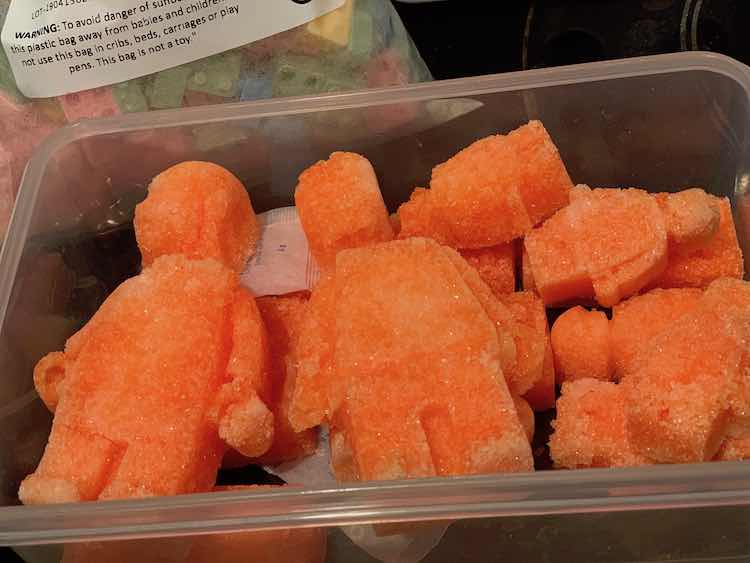
With the first test a success I knew we could make orange angel food cupcakes for Zoey’s party. I planned to make orange whip cream to go on top but wanted to bring in the LEGO® theme too. And this is where the birthday party planning and prepping went downhill. I went online and bought silicone robot and brick moulds, I dyed my granulated sugar orange (McCormick Colored Sugar), and then roughly followed SFGate to make orange-hued LEGO® people and bricks. Looking at that last site again I realize I used normal granulated sugar instead of super-fine… so if I do this again I’m definitely going to look into different sugar. After mixing water into my sugar and pressing it into the mould I next put it into a 200°F oven to dry out. When I removed the first mould after five minutes in the oven the first one crumbled when I tried to remove it from the mould. I ended up repacking the mould, putting it back into the oven, and setting the timer to another five minutes. I then tried to pack as much sugar as I could into the next mould within the time. Every time the timer went I was checking if the unmoulded sugar was dry enough (it wasn’t), seeing if I should unmould the moulded sugar or leave it in the mould for another five minutes, and moving the freshly packed moulds into the oven… I’d then set the timer again and frantically fill any emptied moulds. I ended up going through four cups of sugar making these people and bricks and was so disappointed with the result; yet I still pictured serving the best ones at the party.
After I was done drying them I packed them into a container and separated the layers with several layers of paper towel before hiding the container so it would remain a surprise for the kids. That night I went online to buy food-safe silica gel packs to keep them dry. I had also gone online before this to buy candy blox bricks (no affiliate) so over the next couple days I went back and forth on whether I should serve my orange sugar characters at the birthday party or not. When the silica gel packs arrived I went through the container, threw out over half of them, and repacked the better looking pieces with two silica gel packs in the container to keep them dry. Closer to the party I debated using the two larger sugar people to display, but they had lost their heads, so I ended up ignoring all of them and only using the candy bricks on the cupcakes. I wanted to share this as so many plans may come to pass that look amazing yet behind the scenes they were difficult to execute or turn out downright ugh.
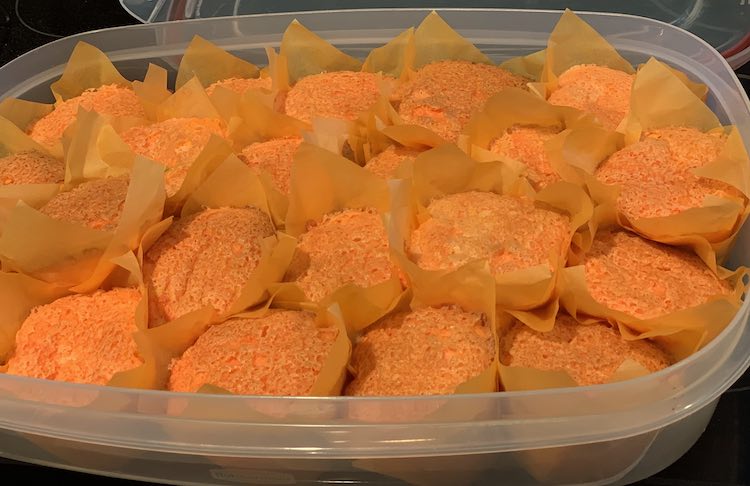
I saved making the birthday cupcakes until the day before the party. A week beforehand I had bought some tulip cupcake liners so it would be easier to clean up after the party and the liner would match the party theme. I made a single box of angel food cake like during the test but since I was able to put more of the angel food cake mix in each cupcake liner, since they were taller, I ended up with only 23 cupcakes this time.
Like before I started by following the directions on the box and mixed the angel food mix powder with the required water. If I had wanted a solid color I would’ve added the dye to the water before combining it. Instead once it was mixed up I dropped red and yellow food dye over top of it.
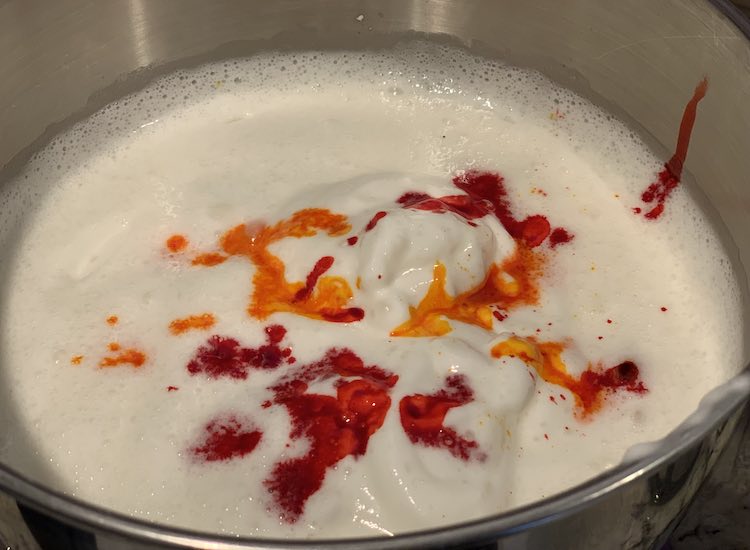
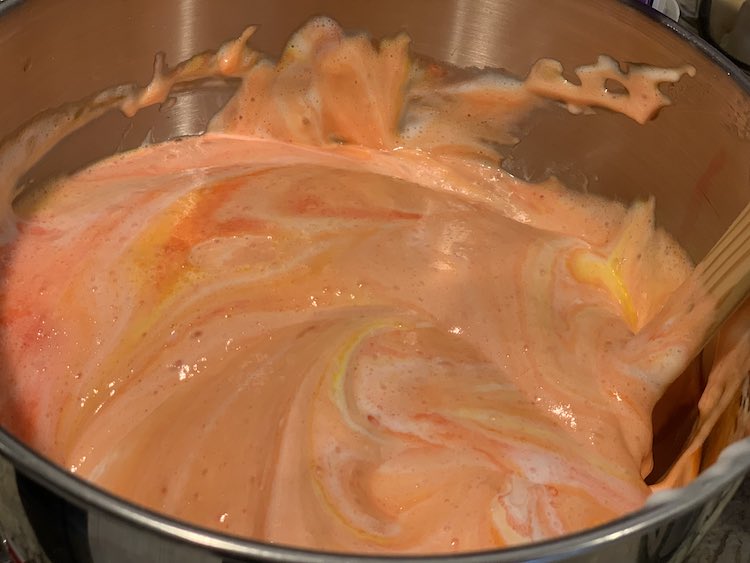
I loved the marbling effect from before so didn’t turn on the stand mixer again. I did, however, want it to be mainly orange so I manually mixed it more than last time but made sure to stop before all the marbling disappeared. At this point you could always add more food dye if the hue is off and needs to be altered. If you’re trying to mix a more complicated color or just need a guide I’ve linked some color mixing posts I just looked up:
- McCormick Ultimate Flavor and Color Mixing Guide
- How to Mix Food Coloring to Make Different Colors on LEAFtv
- On Becka Rahn’s site I found a great color chart even though the article is about dyeing yarn and roving although she uses McCormick food dye too
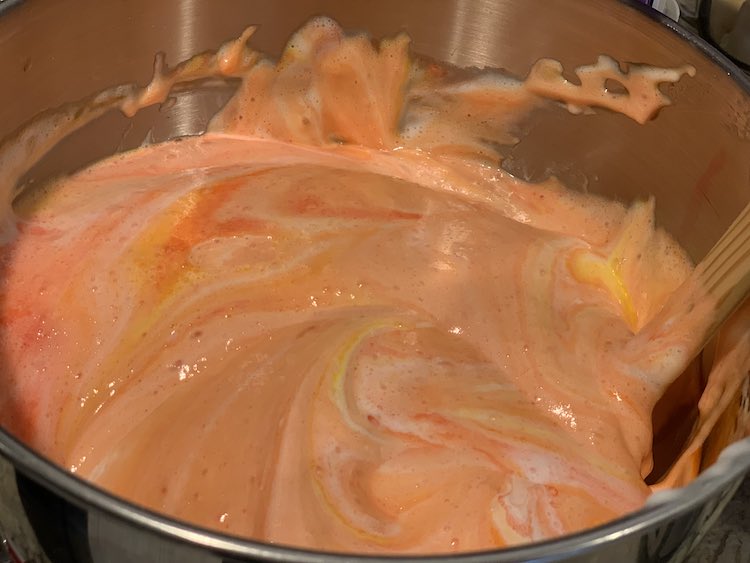
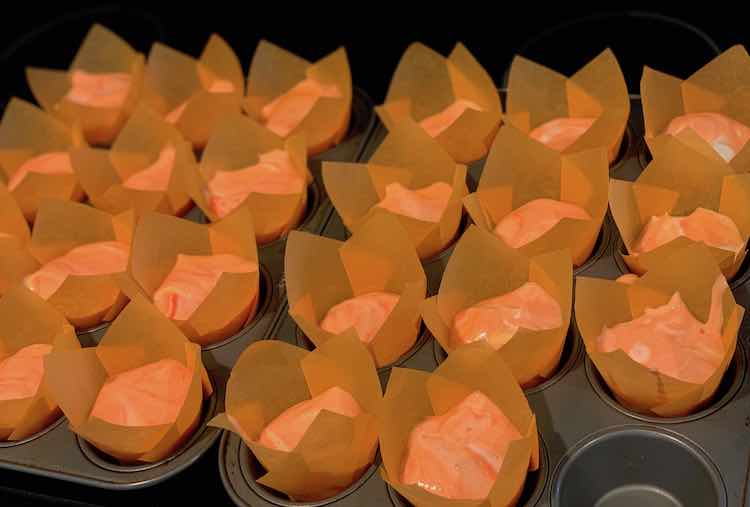
I then poured the orange mix into twenty three of the cupcake liners; as I didn’t have quite enough mix left for the last one.
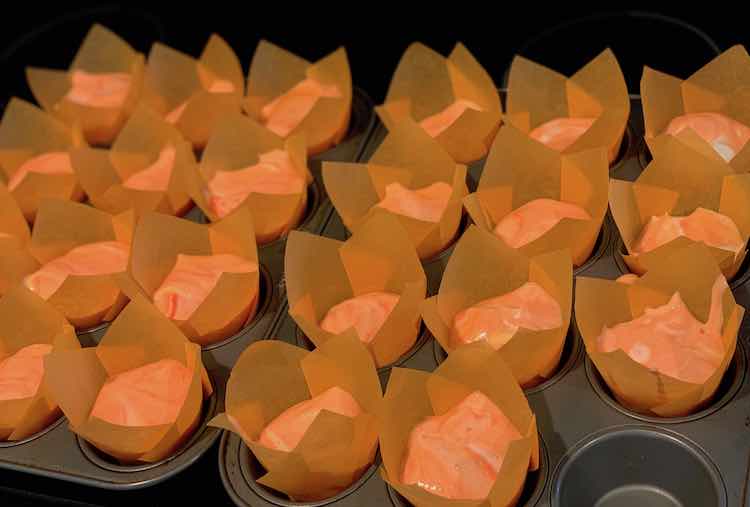
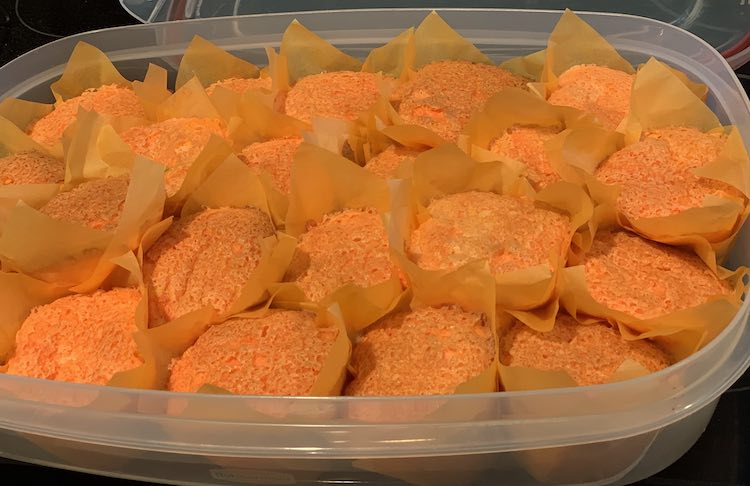
I then put them in my preheated 350°F oven, baked them for 28 minutes, checked them, let them cool, and put them in a container all ready for the birthday party.
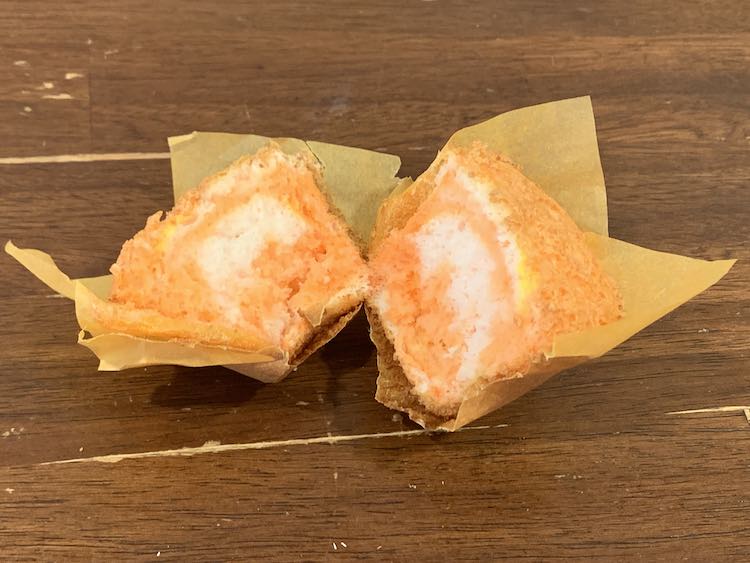
A couple of the cupcakes didn’t fit so I did allow the kids to ‘taste-test’ one. I cut it in half and love how it turned out.
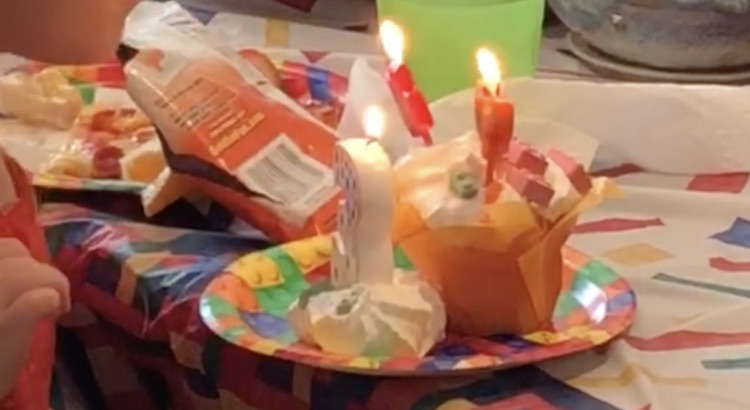
The day of the party we forgot to add food dye to the whip cream so we ended up with white whip cream on top but the kids didn’t care. For Zoey I was worried about the candles standing up properly so I sprayed some whip cream on the plate for the large number three candle and stuck the two skinny candles in the cupcake. She loved it! After the birthday girl blew out her candles we sprayed whip cream onto each cupcake as we dished it and then dropped some of the brick candy on top. Word of warning: the bricks and whip cream made the top of my tall cupcakes rather top heavy so there was a couple tipped over cupcakes.
Colorful Box Mix Angel Food Cake
Hacking box mix angel food cake to make on-theme orange cupcakes. You can do this with any color you want.
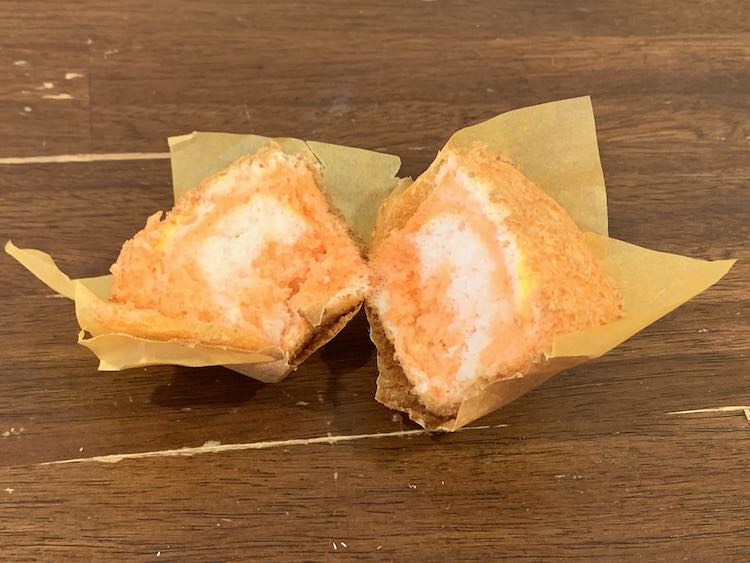
Dessert; Cupcake, Oven
Prep Time: 10 Minutes
Cook Time: 28 minutes
Total Time: 38 minutes
Ingredients
- 1 box Angel food cake
- 1 1/4 cups Water according to box I bought
- Water-based food dye in colors you want
Instructions
- Mix up the angel food cake according to the box's directions. In my case I combined the bagged powder with one and a quarter cups of water in my stand mixer. I then beat it on low speed for 30 seconds and high speed for a minute. If you want a solid color I'd add the dye to the water before combining.
- Add several drops food dye to the angel food cake. You can always add more if it isn't dark enough.
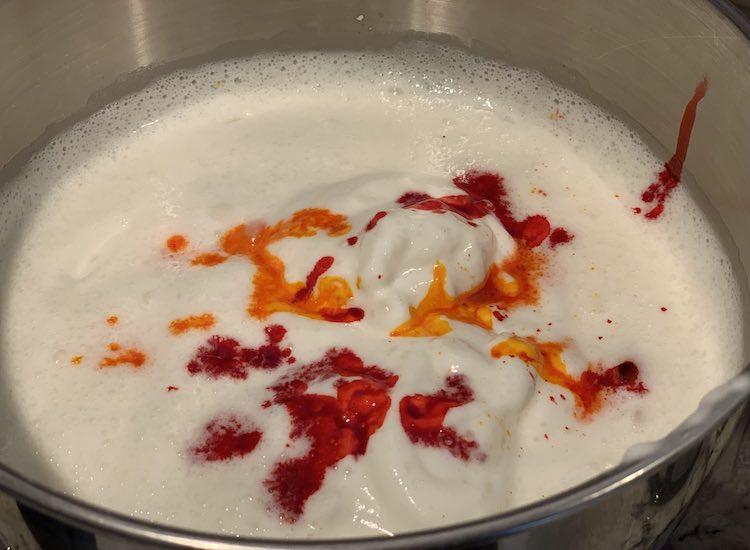
- Stir gently to marble and longer if you want it better mixed.
- Pour the mix into the cupcake liners, loaf pans, or baking dishes before baking according to the box's directions. I did 28 minutes at 350°F.
- Remove, check, cool, and store.
- Optional. Mix up some whip cream and add some decorations.
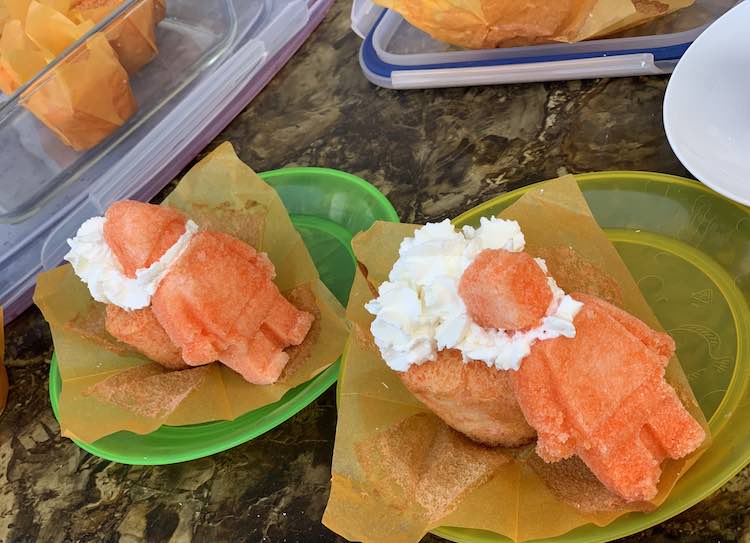
And later after supper, since it was a special birthday party day, the large LEGO® people were delivered leaning on cupcakes with whip cream glue keeping on their heads to Ada and Zoey. They loved it so I’m still glad I made them… even though that’s a crazy amount of sugar.
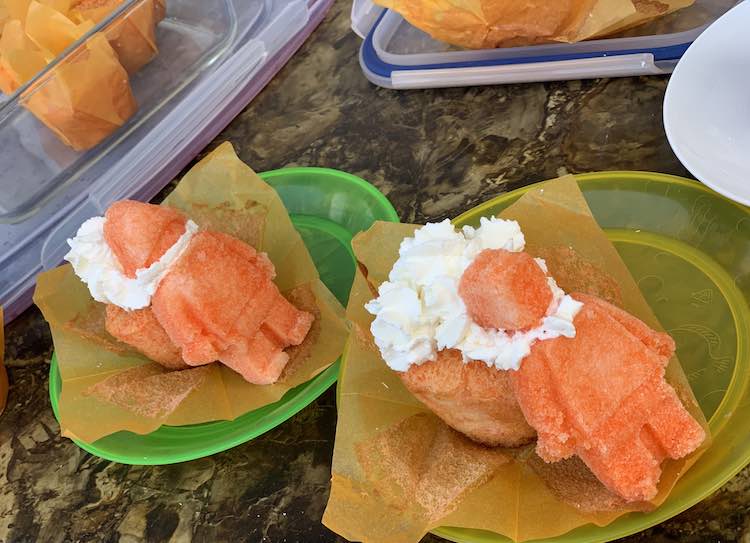
I love how marbled the cupcakes turned out and with the white base the colors really pop. I hope this helps you out if you’re looking for fun cupcakes whether it’s for a birthday party or another occasion. What color are you going to make? Are you adding anything to customize the cupcakes to a theme? Let me know in the comments below, on my Facebook page, or through Instagram. I hope they turn out amazing for you.

